Do you ever look at the photographs that other people take and wonder how someone took an image that looks so amazing? The details in a birds eyes, the texture of a bears nose, the beautiful colors of the setting sun that looks like it is a painting? What’s even worse, to add injury to insult, you then you look at the images that you have taken and you realize that your photographs are a million miles away from where you desire to be as a photographer? Well, if you can relate to this, you are not alone. There are many photographers out there that are hoping to one day take their photography to the next level, but they don’t have the right tools or understanding to get themselves there, yet.
In this post I want to share with you 5 easy to follow steps that I use in nature photography that I believe will enable you to take your photography to the next level, and with a little bit of patience and focus, help you to begin capturing stunning photographs in nature.
- THE RIGHT LOCATION
The very first thing I do is look for the right location. If you want to capture stunning photographs in nature, you have to put yourself in a place where you can make this happen. Finding a location that is filled with opportunities is your top priority. For me, this means I am going to head out to the great outdoors and look for places that have lots of bird activity and hopefully a place that is filled with an array of colors to potentially take advantage of. One of the best places to find an abundance of life in nature is at nature preserves. If you have one near you, this is the place I would go first, as there are usually ample opportunities for stunning images. I captured the two images below of an Acorn Woodpecker and a White-Breasted Nuthatch, at the Glenn Oaks Nature Reserve in Southern California.
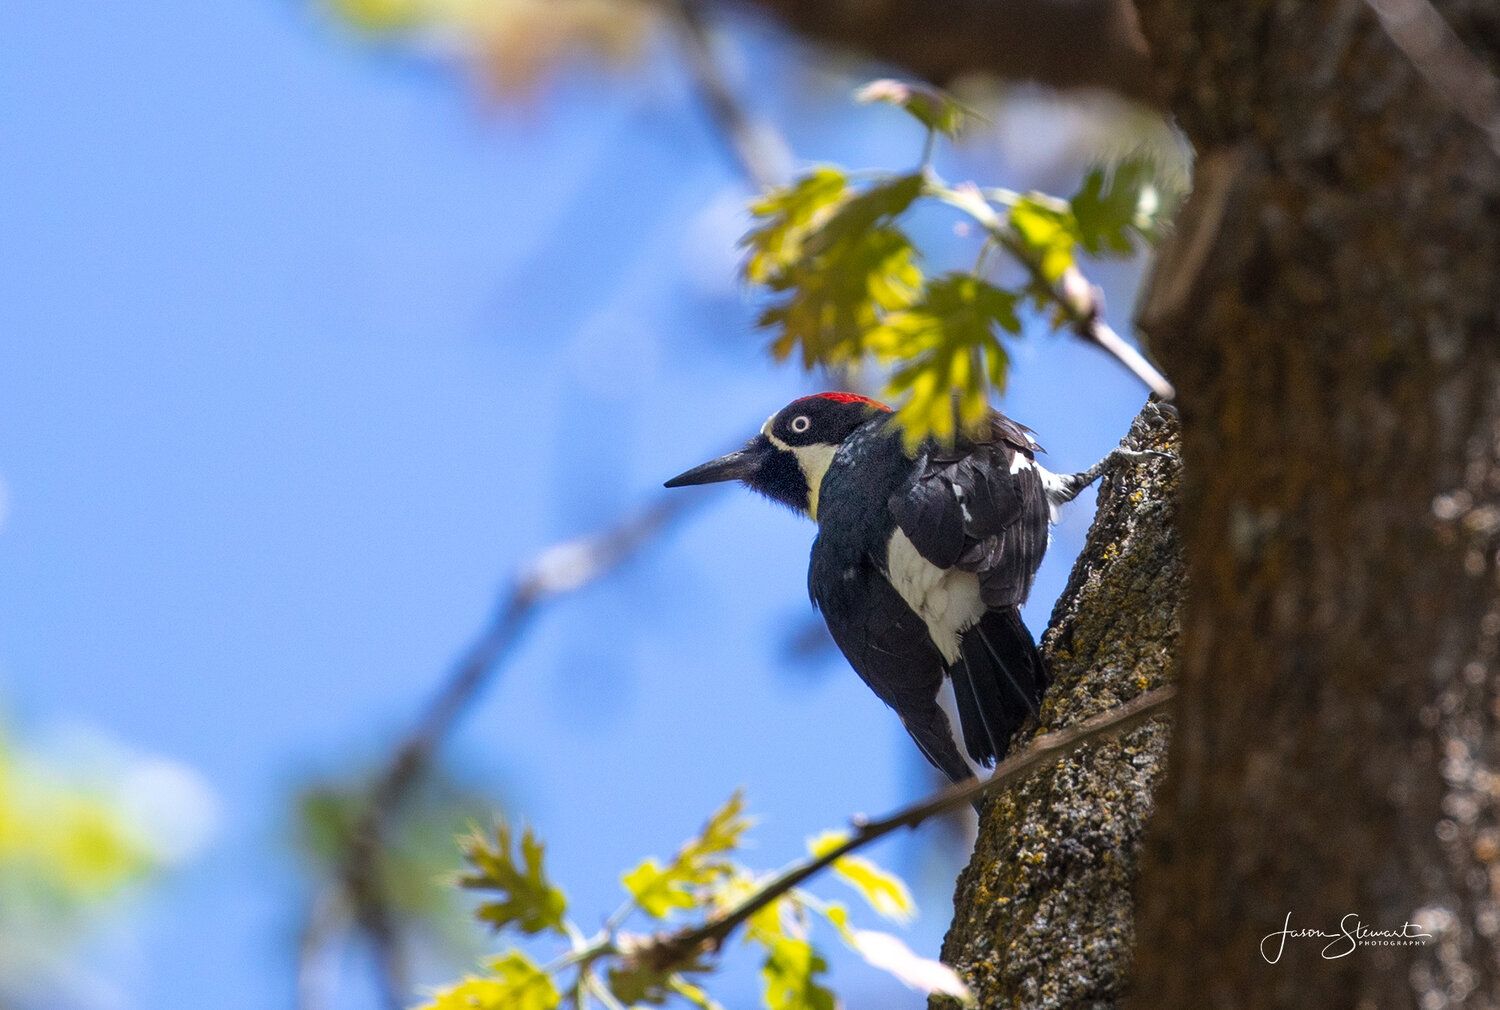
Acorn Woodpecker - Oak Glenn Nature Preserve
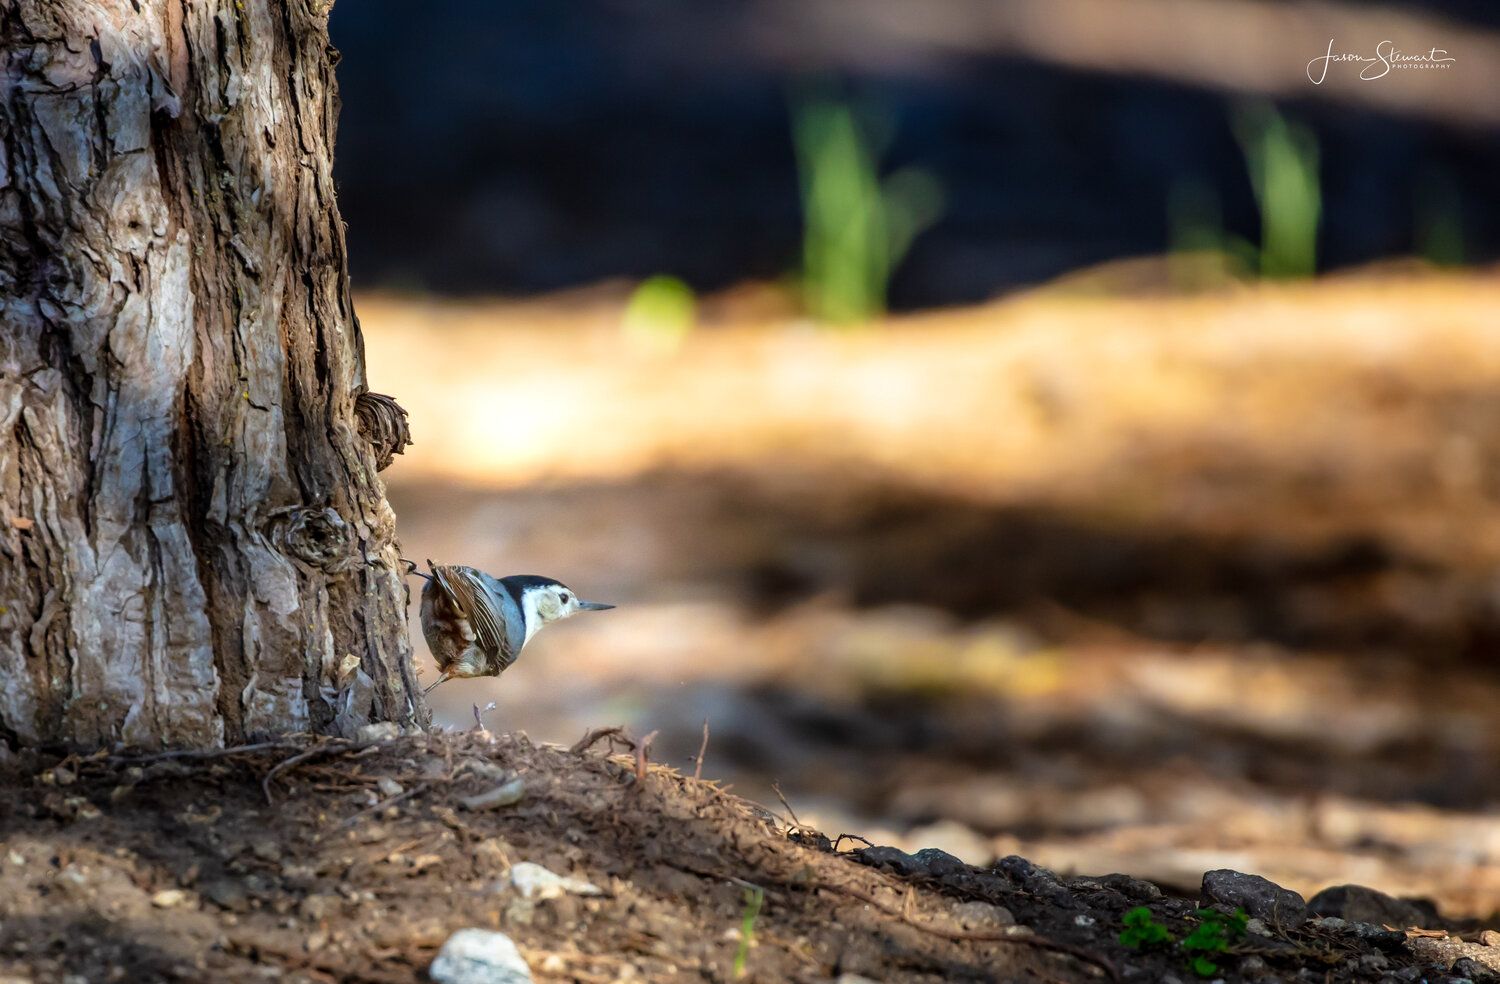
White-Breasted Nuthatch - Oak Glenn Nature Preserve
Once I have found the RIGHT LOCATION there are three things that I focus on as I search for subject matter.
- STUDY THE SURROUNDINGS - When you find the right location you want to study your surroundings in order to look for the right background or foregrounds to include in your images.
- ELIMINATE DISTRACTIONS - You also want to make sure that you avoid backgrounds and foregrounds that are filled with distractions. You want to avoid telephone poles, people, automobiles, buildings and anything else that might take away from your main subject.
- LOOK FOR COLOR - This can pay huge dividends for me when I am taking photographs in nature. I look for background or foreground color to help add to the overall aesthetics of my image.
For example, in the image of the male Western Bluebird (see below), I found this unique looking log that was on the ground and noticed it had a very colorful background. Because I could see and hear ample bird activity in this location, I found a spot where I could remain somewhat hidden in order to take photographs of any birds that did came and perch on this log.
With the Western Bluebird, I framed the image purposefully with the green trees and blue skies directly behind it, along with the darker shade of brown from the tree to the left. The outcome was a colorful image in nature that I am pleased with.
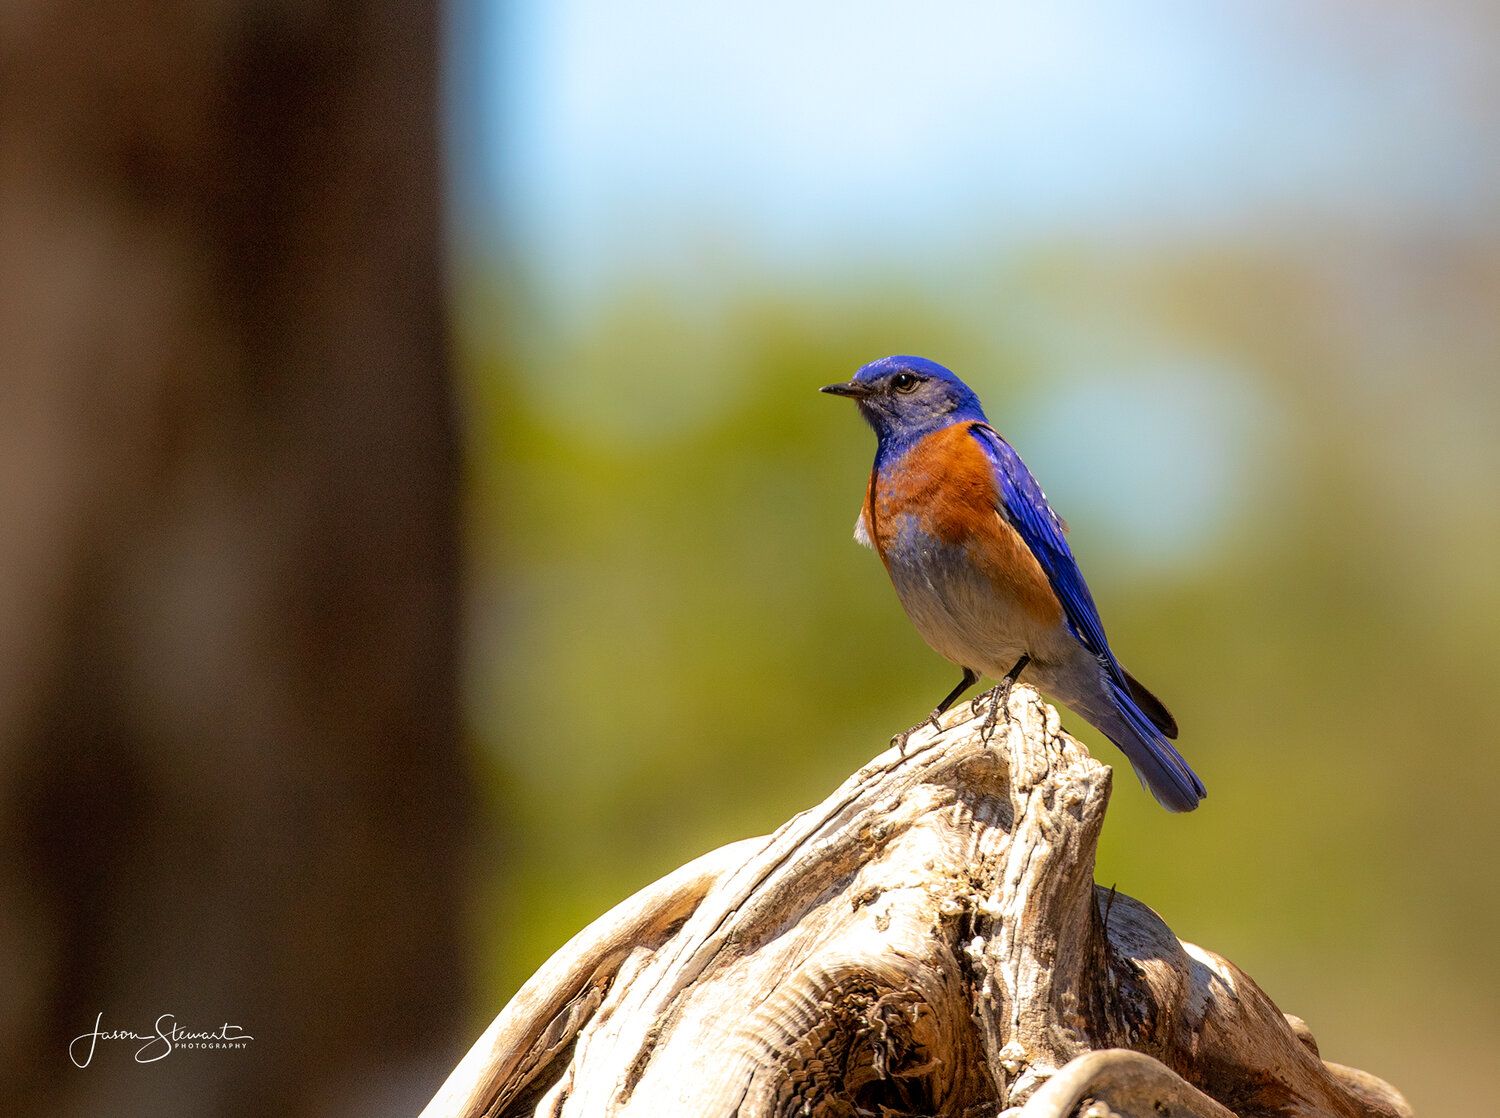
Male Western Bluebird - Local Park in my area
With the female Western Bluebird (see below), I purposefully moved to the right a bit in order to capture the same tree behind it, but I noticed the background to the left of the tree almost matched the colors of the bird perfectly. The outcome was another aesthetically pleasing image of a bird in nature.
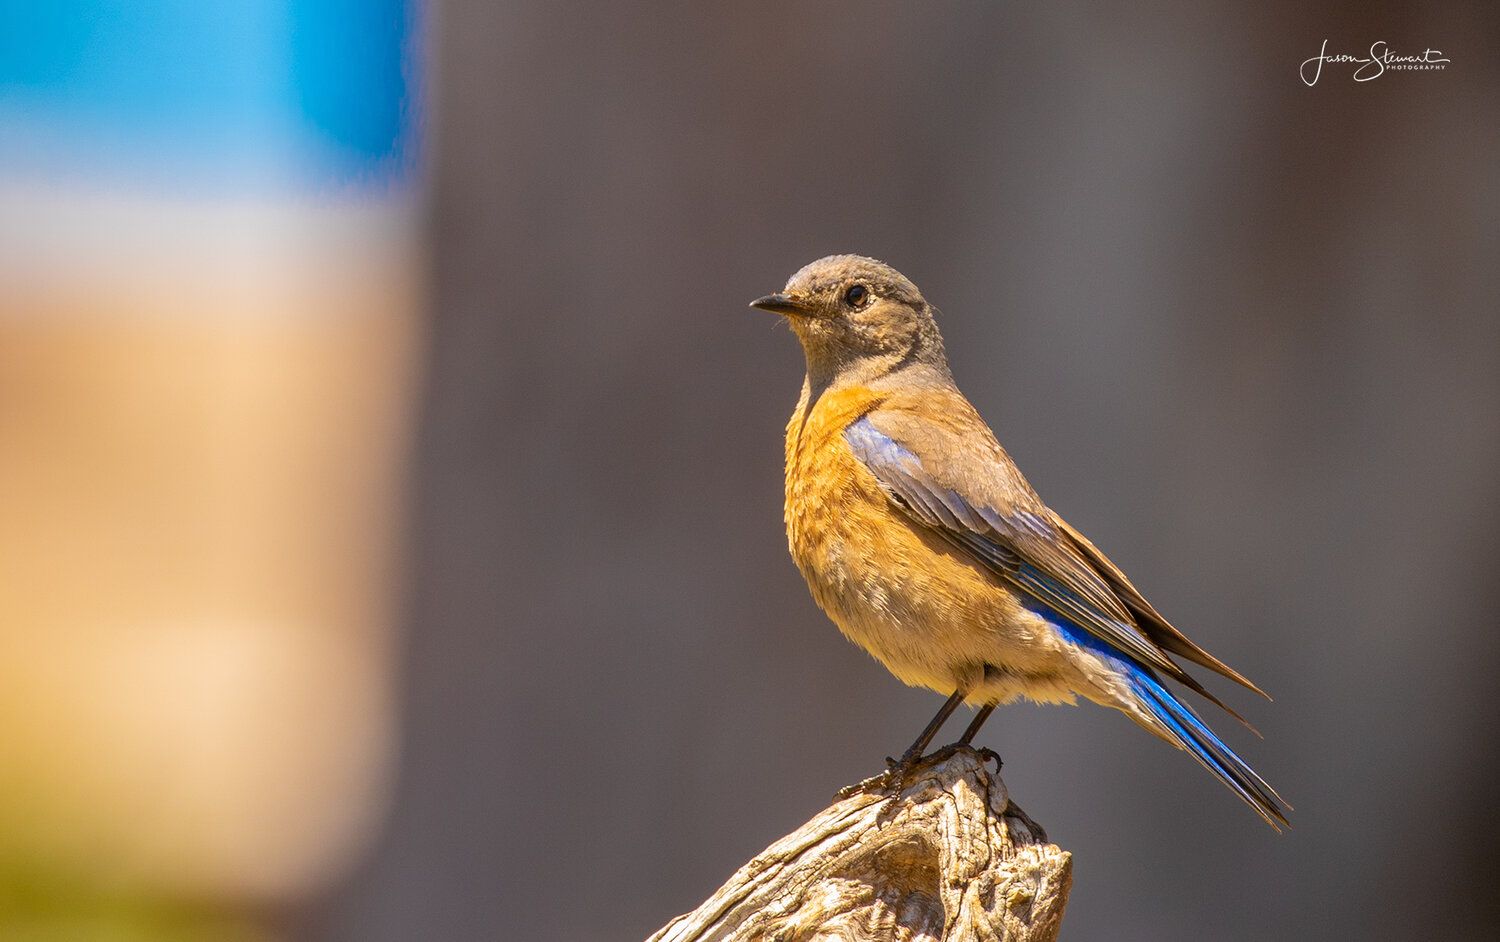
Female Western Bluebird - Local Park in my area
2. GOOD LIGHTING
Once I find the right location and I have studied my surroundings in order to find the right composition, I also want to make sure I take advantage of good lighting. We can’t always control the light condition, but if you are able to arrive earlier in the morning or late afternoon it will enable you to capture images when the sun is lower on the horizon which will produce ideal lighting especially when the golden hour arrives. This will add a beautiful tone to your images and allow you to be a lot more creative with your photography.
The beautiful image of the squirrel (see below) could only happen because I was out early and was able to take advantage of the warm colors produced by the golden hours. Good lighting is a vital part to capturing stunning images in nature.
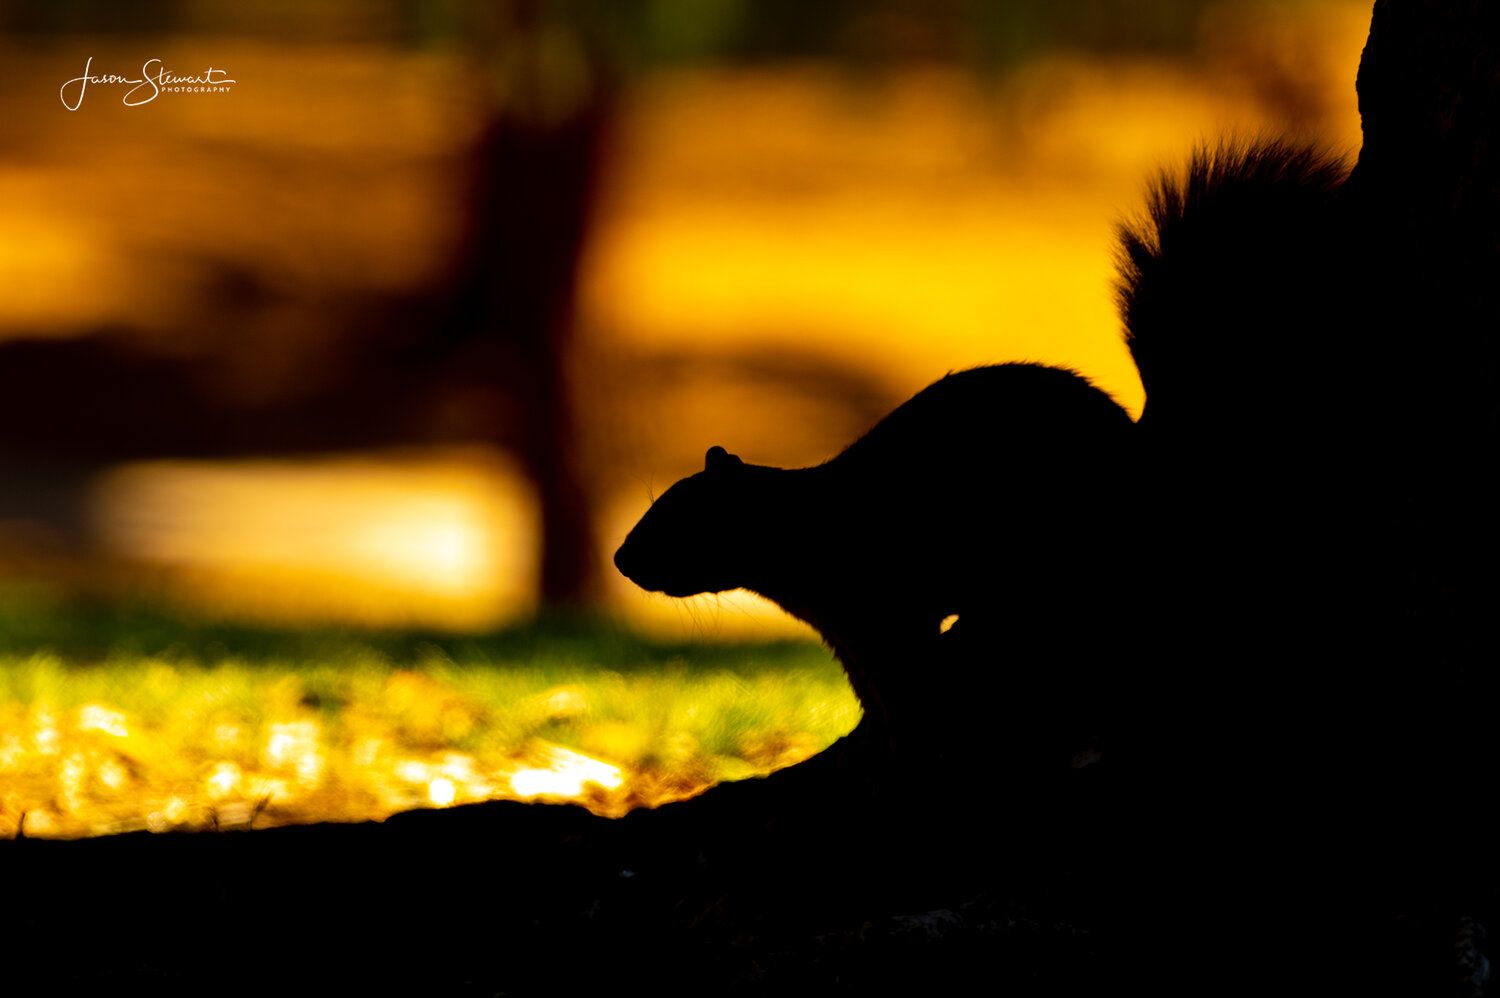
3. CORRECT CAMERA SETTINGS
When I am capturing images of landscapes I am always in manual mode. However, for nature photography, the two main camera settings I use are shutter priority and aperture priority.
SHUTTER PRIORITY - Shutter priority allows me to freeze motion. This is very important when you want to capture tack-sharp images of birds in flight. I was in shutter priority mode with a 1/1250 shutter speed when I captured the image of a Magpie at Eagle Idaho State Park, which is an absolute gem of a place for nature photography. Because I was using such a fast shutter speed, I was able to freeze action and capture a tack sharp image of a bird in flight.
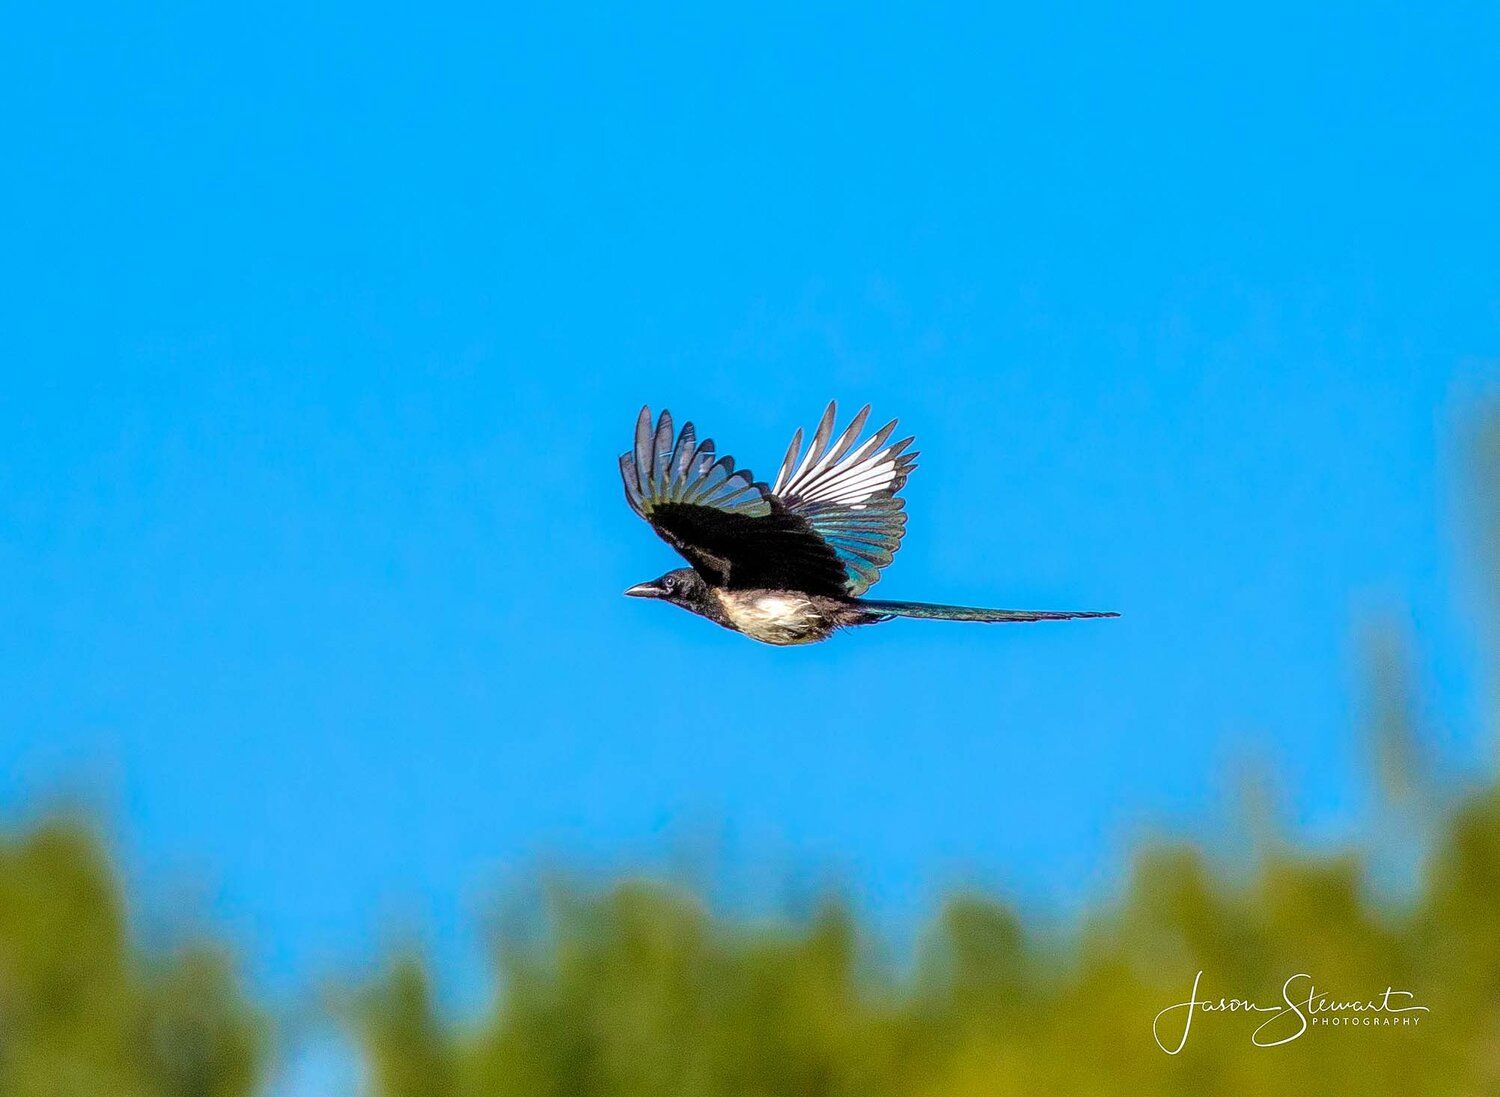
Shutter Priority Mode - 1/1250 sec
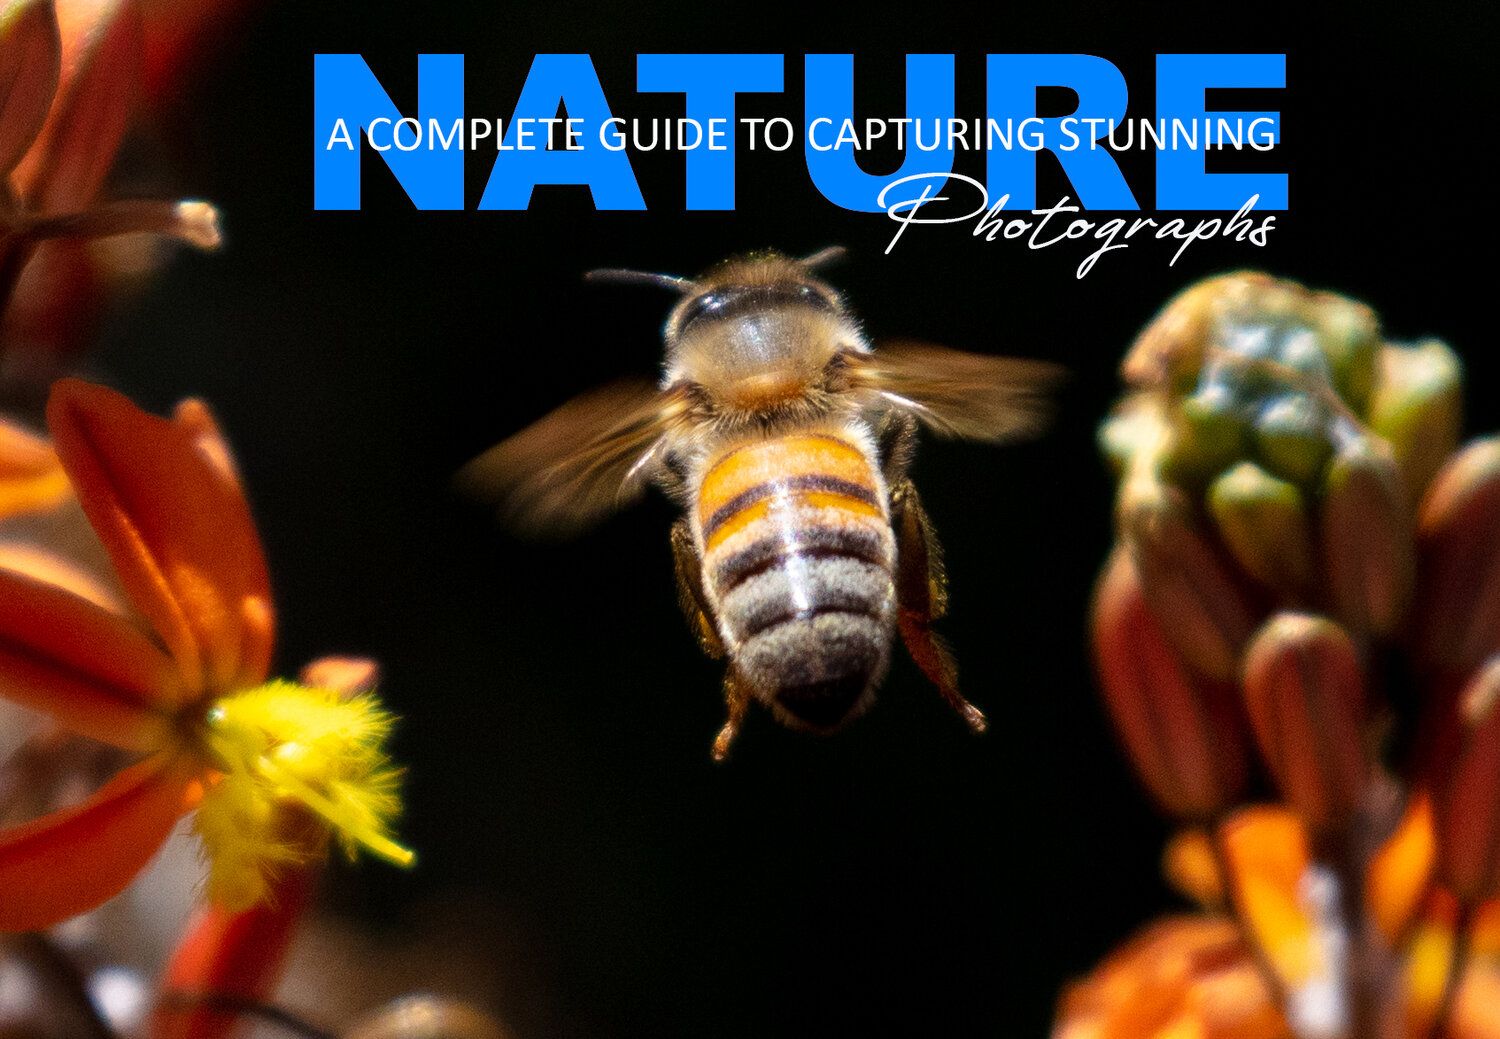
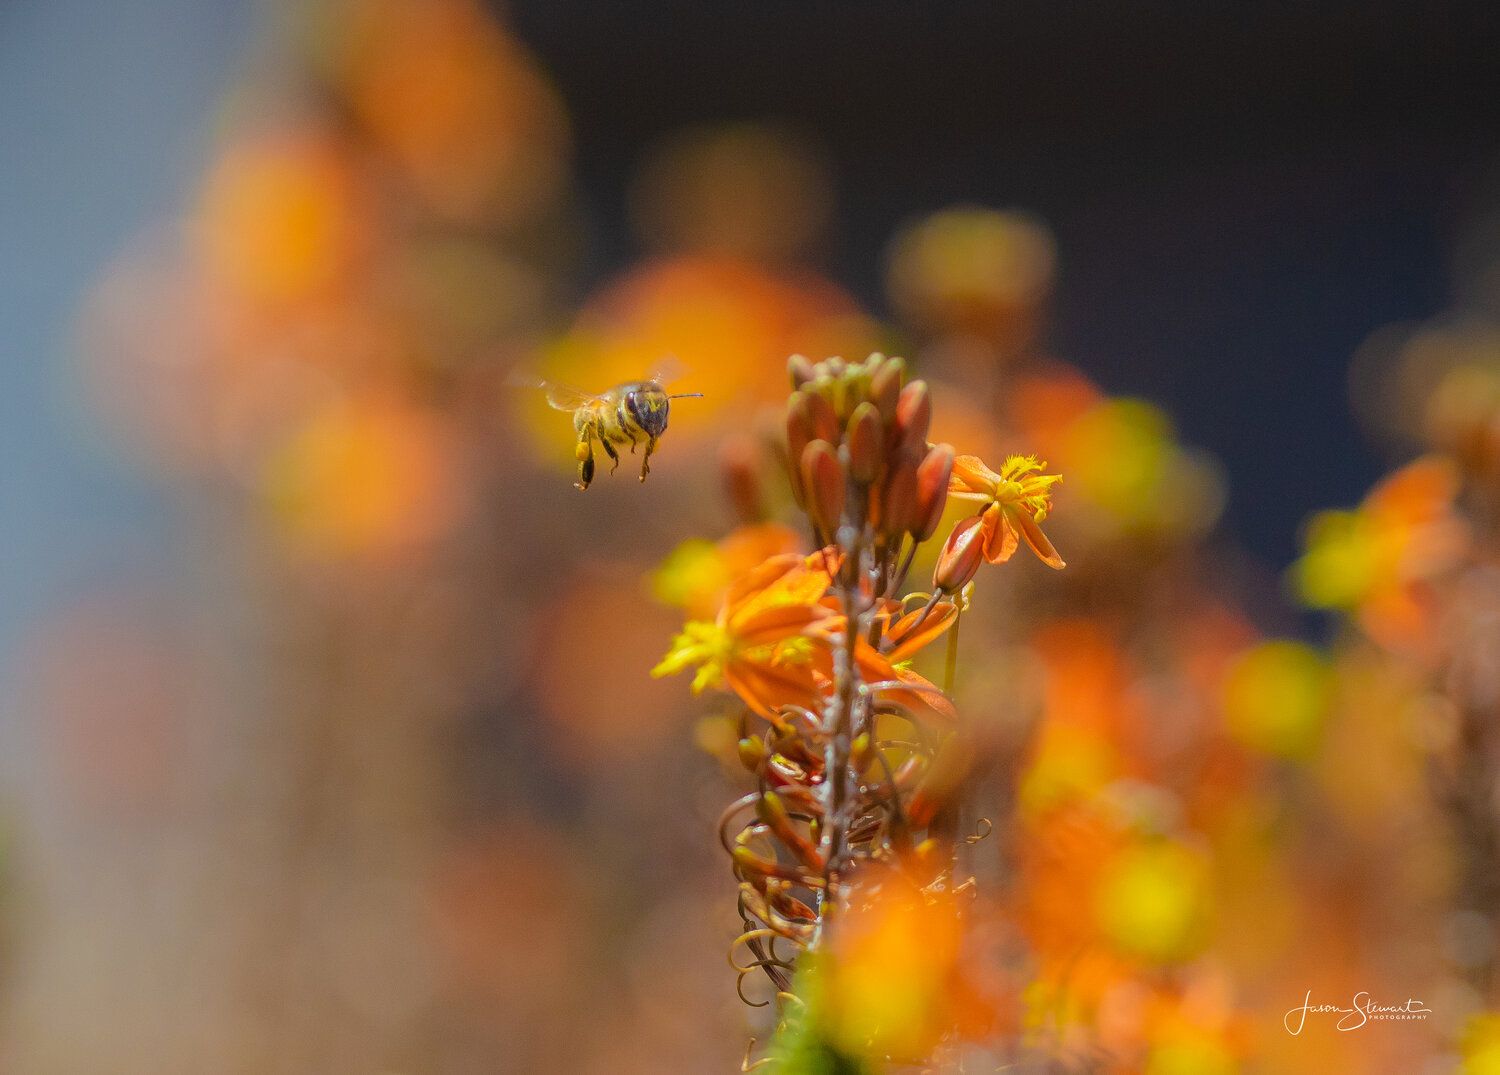
I was also in shutter priority mode with a 1/2000 shutter speed in the image of the honey bee, which enabled me to freeze action and capture outstanding details of the bee while in flight.
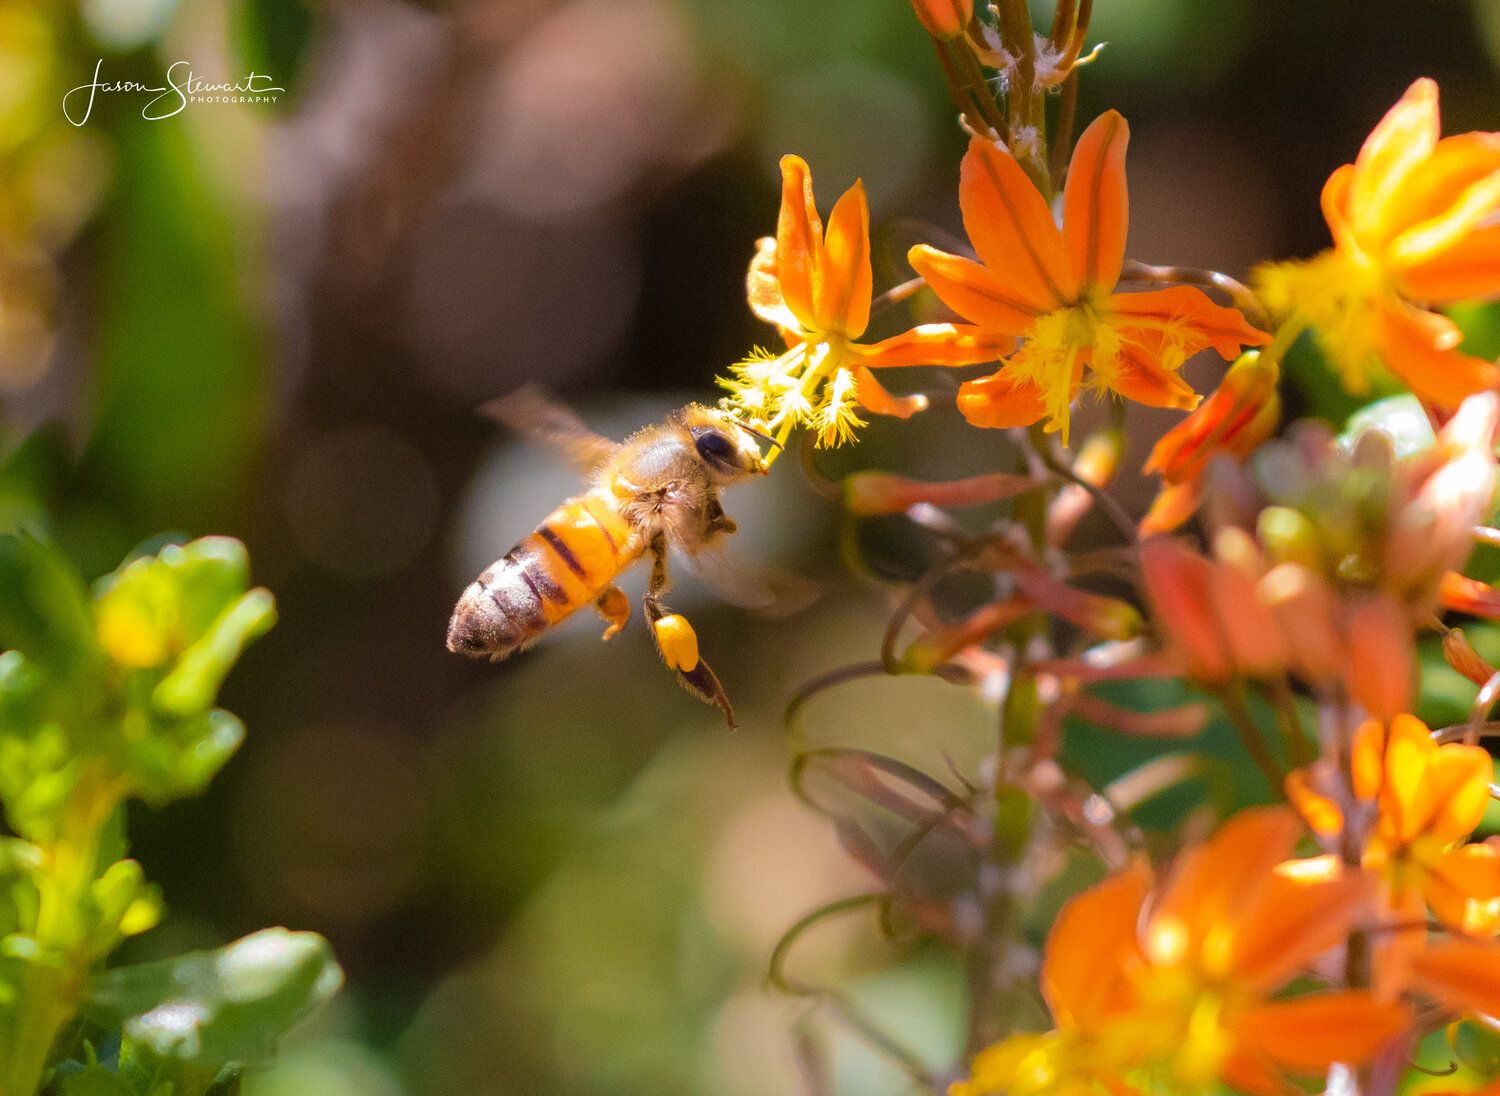
Shutter Priority Mode - 1/2000 sec
APERTURE PRIORITY - As we just learned, shutter priority enables us to freeze motion. The other setting I use primarily while out in nature is aperture priority. Aperture priority enables you to control the depth of field and create beautiful blur in your backgrounds. Blur enables your subject to stand out in your images, and when you find a background with beautiful colors, it can absolutely transform your photographs.
Because I was in aperture priority I had the ability to blur the background in the image of the seagull with the pink flowers behind it. Because the pink flowers are blurred it created a beautiful portrait of this seagull.
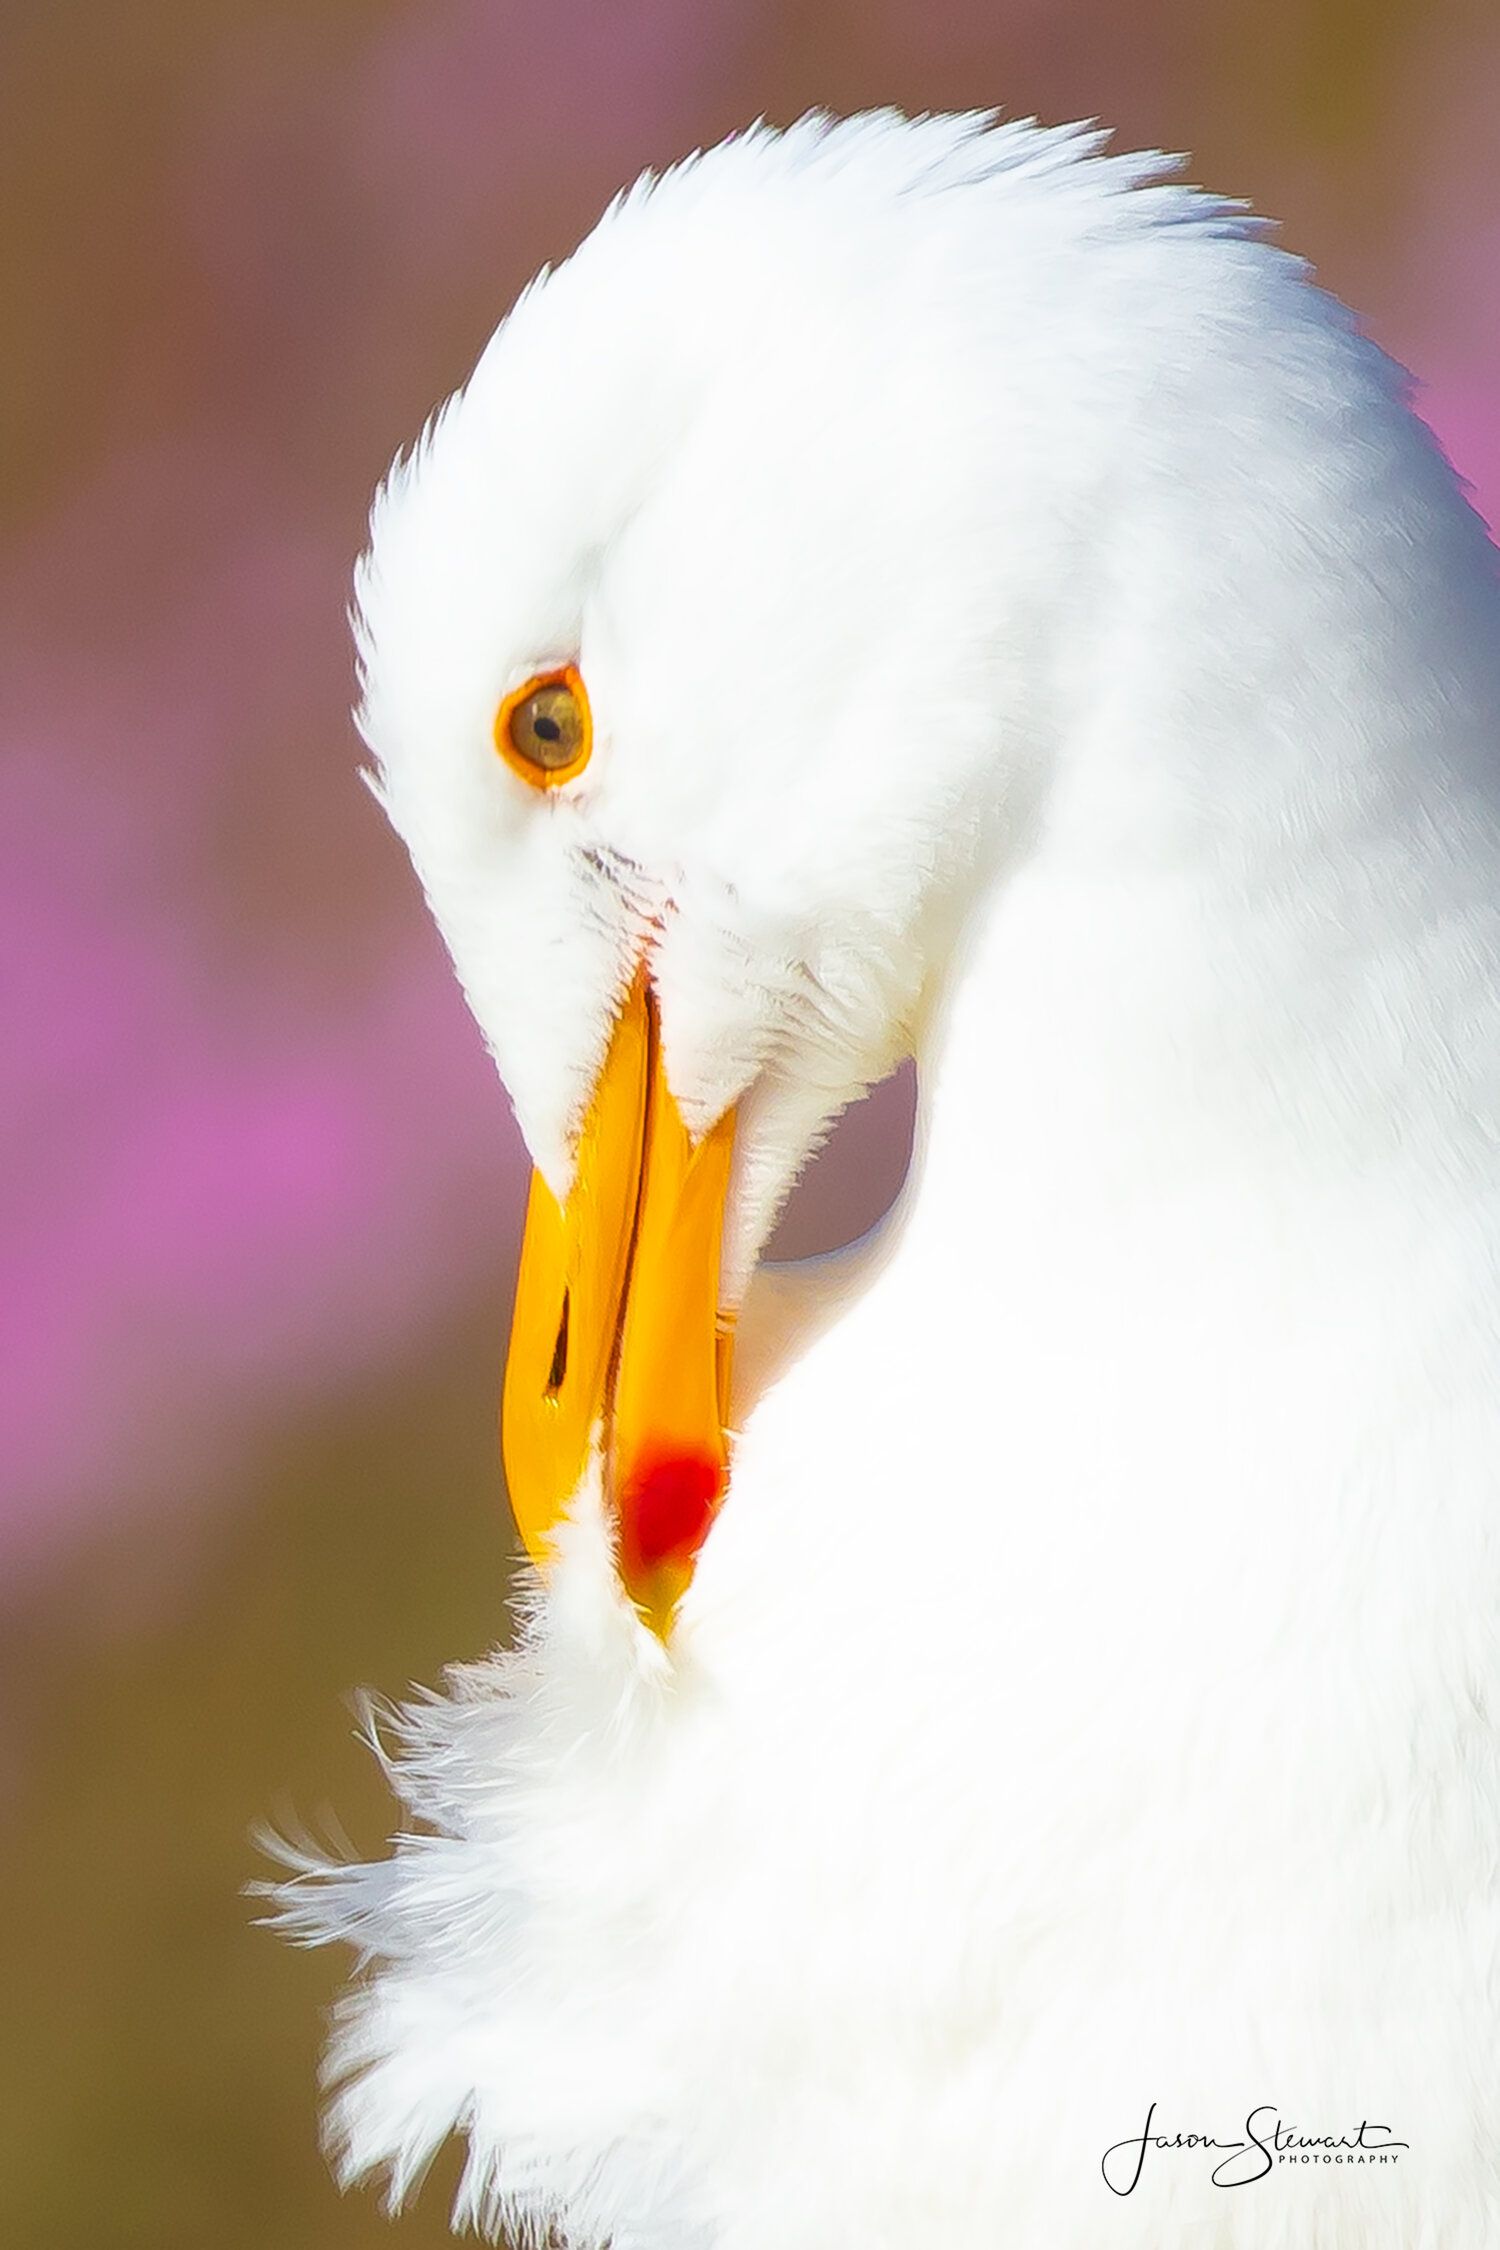
Aperture Priority Mode - f/5.6
I also had my camera in aperture priority when I captures this image of a beautiful Dwarf Iris with the blurred background. In both images, the seagull (image above), as well as the dwarf iris (image below), you can also see what a difference it makes when you are purposeful in finding color in your background.
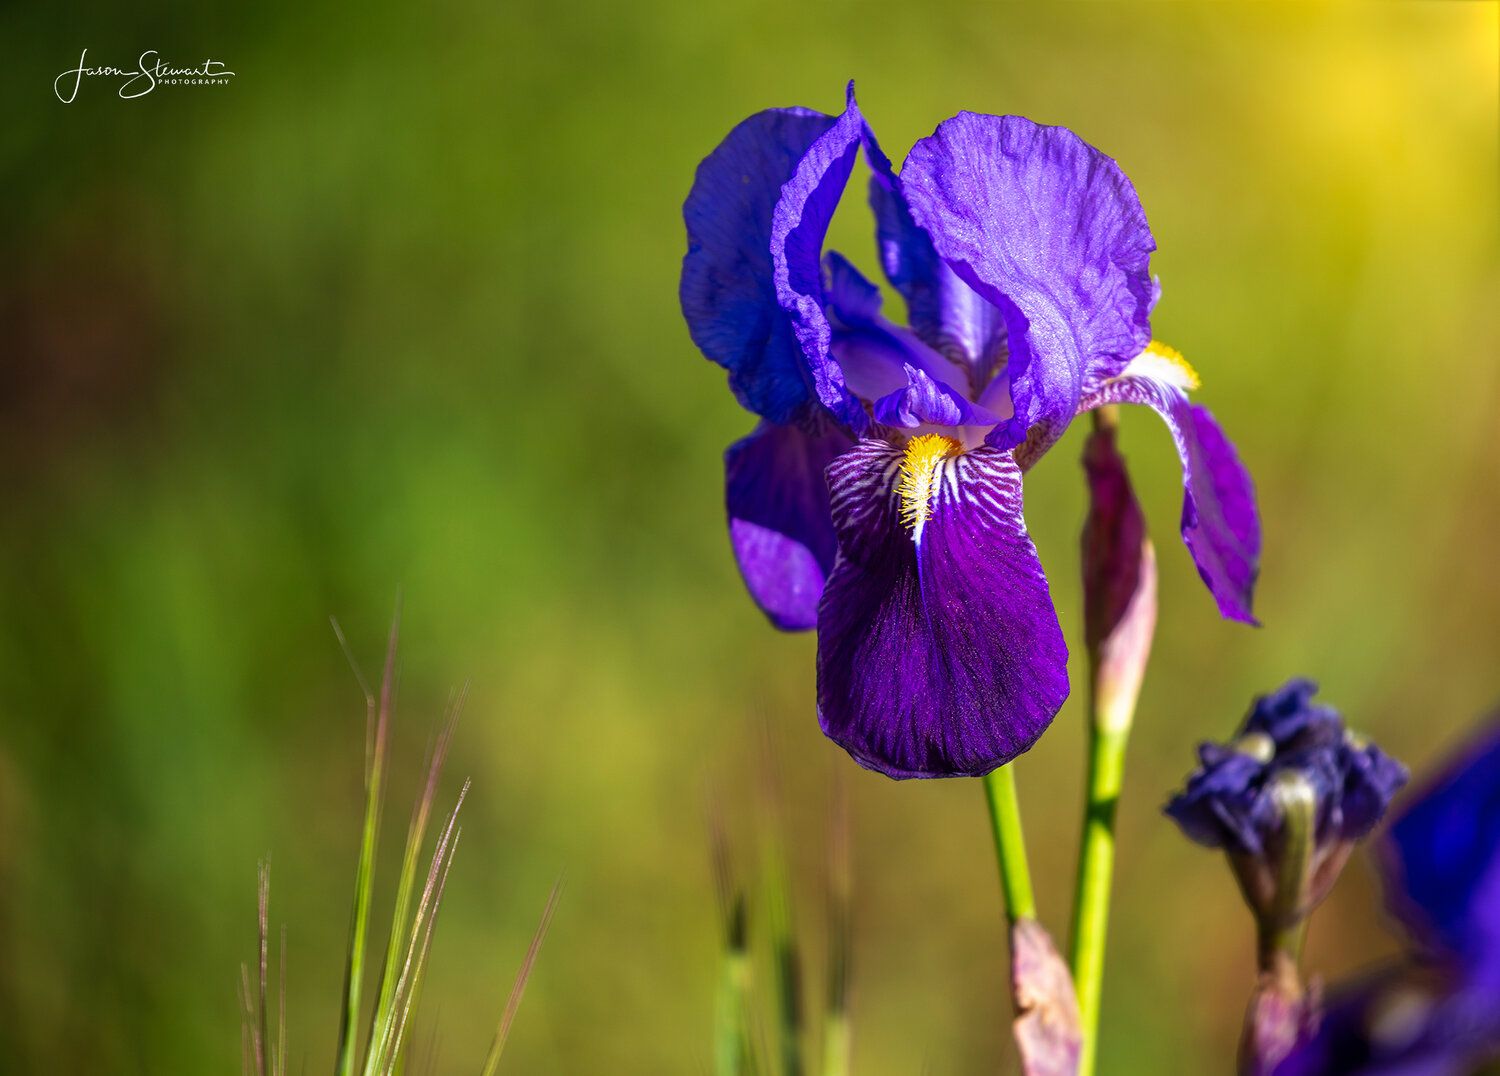
Aperture Priority Mode - f/5.6
4. GET CLOSE
Getting up close is essential to capturing stunning photographs in nature as this enables you to see and capture aspects of wildlife in a way that would be impossible without a telephoto/zoom lens. For example, in the image of the seal I was using my Canon 7D Mark ii, which is a crop-sensor camera, along with my Canon EF 100-400mm zoom lens. This enabled me to zoom in at 640mm.
Because I was able to get so close to the seal, I was able to capture phenomenal details in its face. You can see clear details everywhere. The mouth, nose, eyes, whiskers, as well as the ground below. The only way I was able to get such clear and fascinating details of this creature, is because I was able to get close by using a telephoto lens.
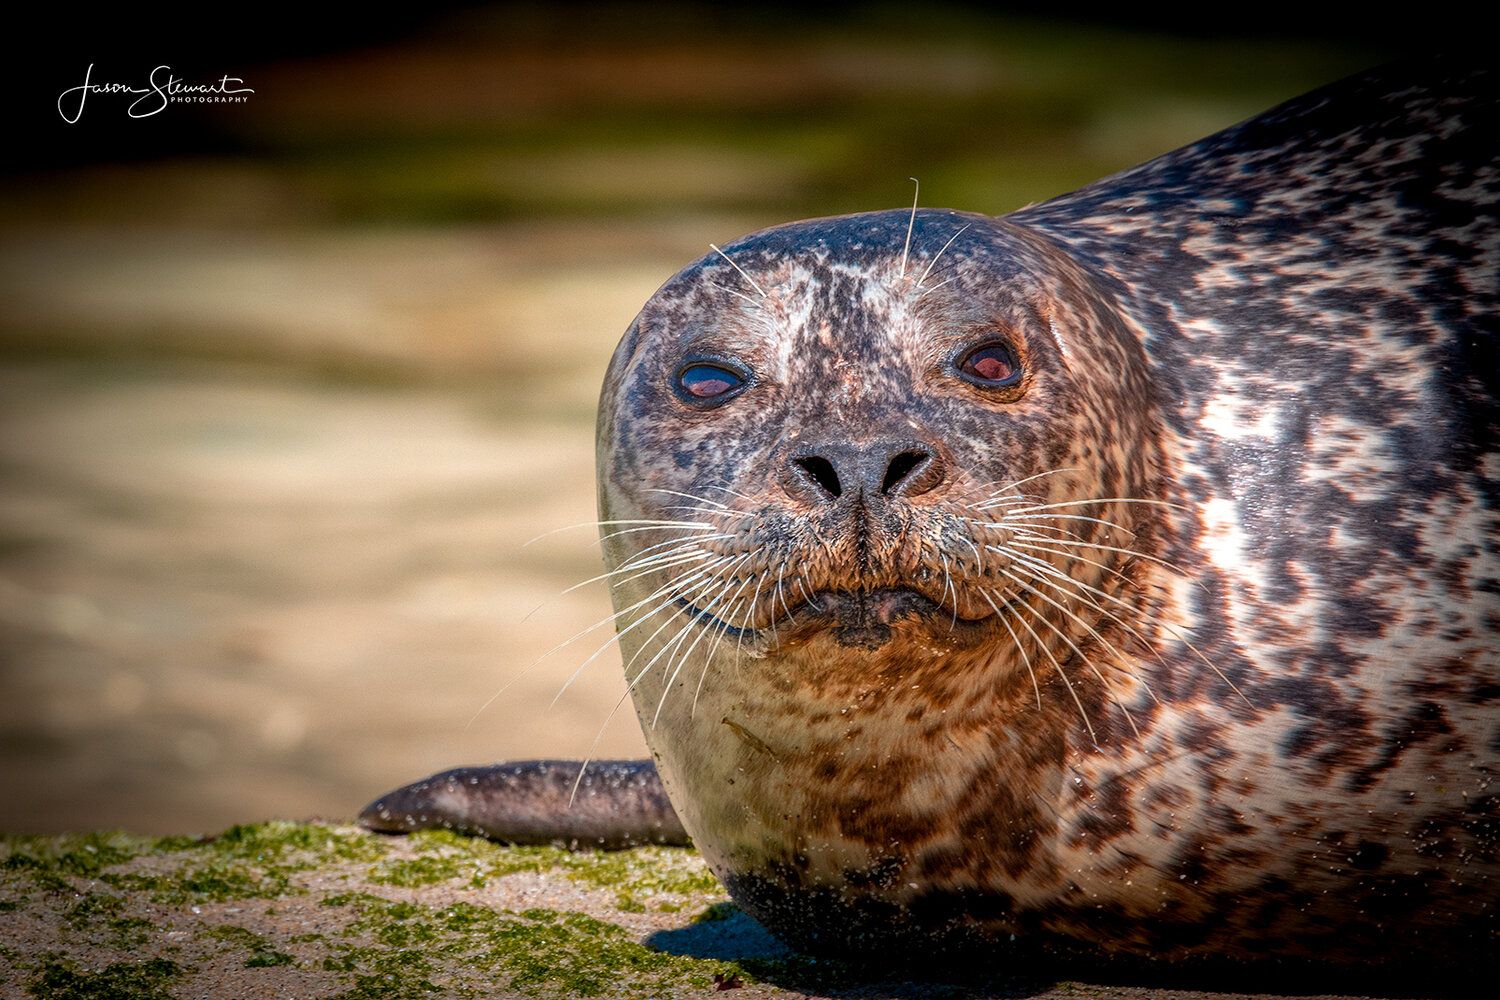
Focal Length - 400mm with a crop-sensor camera (Canon 7D Mark ii) = 640mmocal Length - 400mm with a crop-sensor camera (Canon 7D Mark ii) = 640mm
5. GET THE SHOT
What do I mean by “get the shot”? What I mean by get the shot, is if you find the right location with the right lighting, and you have the right type of subject that you want to photograph, DO NOT LEAVE UNTIL YOU GET THE SHOT!
An example of this, was on a recent trip I took out into nature where I found a place where the location was beautiful, the lighting was perfect, and in addition to having beautiful flowers there were lots of Honey Bees flying from flower to flower for me to photograph.
I literally stayed in this one location for an hour and took over 1200 photographs of these honey bees, in order to get the right shots. I may have only come away with 20 images that I really liked, and maybe 3 or 4 that I feel were exceptional. But the reason I took so many pictures is because the main goal for me was to take as many photographs as possible of bees in flight, in order to hopefully capture a handful of them in focus and with the right background.
If you would like to watch the episode I filmed that goes into a bit more of what I have discussed in this article, you can do so by clicking on the video below. If you like this material, please be sure to like and subscribe to my YouTube channel so that you can be alerted any time I have new content available.
This Episode will teach you how to Capture Stunning Photographs in Nature
Thanks again for taking the time to read this article. I hope it helps you begin capturing stunning images in nature.
Now go out and capture the world!
Jason Stewart